


How can I make a difference? How can one person do anything to stop the tidal wave of textile waste plaguing our precious planet? These questions perplex and haunt me at various times and I often feel helpless and outraged all at once. There are a growing number of people who shop at thrift stores and mend their clothing now. But I’m constantly amazed that many quilters and sewists today still live by the motto, “She who dies with the most fabric wins.”
Quilting cottons are very expensive. (Most people have no idea how much time and money it takes to make a quilt.) How would someone who really wants to reduce textile waste make a quilt? What would it look like if I took used clothing and repurposed that? Our quilter foremothers made quilts from discarded clothing all the time. Sure, I could make a scrappy quilt from all sorts of garment fabrics. But could I make a quilt that is just as good as a quilt I might have made from purchased quilting cotton? I decided to try a thrift shop quilt experiment.
Could I make a quilt that is just as good as a quilt I might have made from purchased quilting cotton?
My little town of Langley has a wonderful organization called Good Cheer that runs a food bank. They also run a couple of thrift stores that help fund the food bank. I visited their thrift store and my goal was to find cotton and linen clothing that I could use to make a quilt. Why a quilt? Making quilts is a very efficient way to use small pieces of fabric and I want to use as much of each garment as I can. Its also a great way to mix various fabrics into beautiful designs. Why cotton and linen? I chose those fabrics because I knew I might need to dye some of the fabrics that had stains or fading. Also, cottons – and some linens– tend to make the best quilts. You can make blankets and quilts out of just about any fabric, but those are my favorites. Here is my journey…
1 – Gathering the raw materials

I spent $36 on 8 items of clothing. Some were on sale! I picked them solely based on fabric content and how they felt. All of them are cotton except for the black linen pants. I didn’t pay much attention to the colors or fabric designs because I knew I would probably be overdyeing them later. Here’s a tip: size matters! The larger the size, the more fabric you get so don’t limit yourself to shopping for only women’s or children’s sizes. Look at the men’s clothing as well — an XXL shirt will yield a hefty amount of fabric.
2 – Preparing the fabrics for dyeing (optional)
The clothes I bought were all very clean. But I knew I wanted to dye some of it so I needed to clean those more thoroughly. This fabric-cleaning before dyeing is called “scouring.” Typically dyers use a product called Synthropol in the scouring process. It removes dirt, oils, fabric sizing, starch, and loose dye from the fabrics and makes it ready to receive new dye. I had already decided to overdye my fabrics with indigo so I definitely needed to scour the fabrics first. (You can use Rit dye or fiber-reactive dyes instead of indigo.)
3 – Removing extraneous items
Tools needed: seam ripper, fabric scissors, tweezers (to pull out stubborn threads)
Before you dye the fabrics or start cutting them up, remove all the tags, buttons, snaps, zippers, elastic, etc. Some of these items can be reused and you may want to save them for other projects. One of my favorite quilts called, “Portrait of a Textile Maker” made by Terese Agnew is made from garment tags.

I didn’t fully take the garments apart before washing to prevent a lot of fraying at the cut edges. Fraying reduces the amount of fabric you have in the end and it creates rat nests of threads after you’ve washed and dried the pieces (see below). I waited till after dyeing to fully deconstruct the garments. I did removed the pocket of one shirt for dye testing (above). That shirt already had very saturated colors and I wasn’t sure how I wanted to overdye it. More on that later.

4 – Creating a color plan
Identify the fabrics that you like and want to keep just the way they are and set them aside. I liked 3 of the colors I came home with: white, black, and a pebbly blue/white combo. I ended up deciding that I would overdye the rest of the garments with indigo blue. Here is my proposed color palette:

I’ve got the black and white and I will be making several different blue fabrics with indigo – where will I get that rusty orange? Good question. I am hoping that if I overdye the really saturated plaid shirt with a warm color it will become my accent color. We will see if I’m successful.
5 – Overdying the fabrics
I overdyed the shirts and pajama pants with indigo. It took 3-4 dips to get the right colors. Some of the dye was a bit splotchy which is to be expected with used fabrics. I wasn’t worried about that since I knew the fabric would be cut into small pieces and the splotches would be less noticeable.

I wanted a rusty warm color as a compliment to all the blues so I overdyed the super colorful plaid shirt with a warm amber fiber-reactive dye. I was very happy with the results.

I finished deconstructing all the garments so that they were flat pieces without seams, hems, buttonholes, etc. My fabric is all ready to cut into quilt shapes.

6 – Creating a quilt design

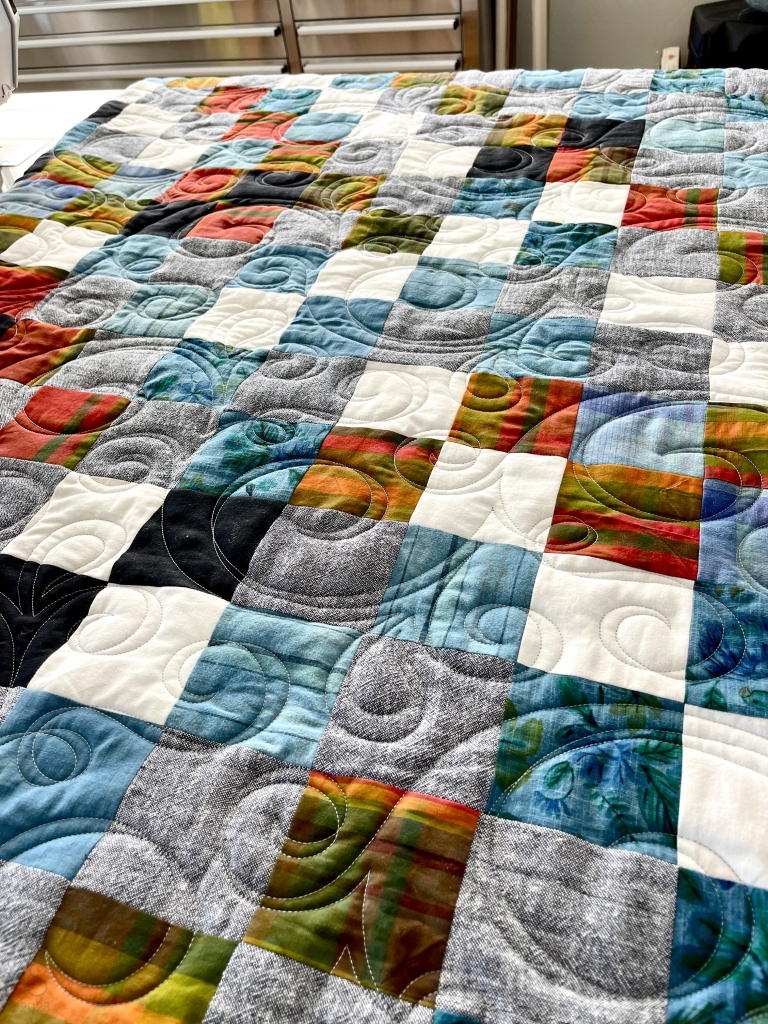
To make the most of the weird fabric shapes that I had, I chose a traditional design made from small squares. Once sewed together each square measures 3″ which means I cut 3-1/2″ squares (to allow for 1/4″ seams.) This quilt design is known by several names but most commonly as either Sunshine and Shadow or Trip Around the World. I decided to wait on designing the back of the quilt until later.
7 – Cutting out the pieces

8 – Laying out the pieces
I decided to just start laying it out on my design wall to see how I liked it. Starting from the center I worked out to the edges and then counted the number of pieces. Ultimately I chose to make the finished quilt top 23 squares by 19 squares which equals 69″ x 57.” I couldn’t fit it all on my design wall in the beginning so I added a couple rows as I was sewing the squares together.

9 – Sewing the quilt top
As I sewed each row I pinned it back up on the design wall so I could keep them in order.

10 – Making a backing
Once the top was finished I realized there were enough squares left to make the entire backing. Because this project was really about using every possible bit of fabric from those garments, I decided to piece the back. Most quilt backs are made from whole cloth or from very large pieces of fabric sewed together. The pieced back was an experiment so I just went for it. I figured that if my quilter balked at the idea of sandwiching two heavily pieced layers that I could maybe make two quilts. I really didn’t want to go back to Good Cheer Thrift to find enough fabric for the backing though. Luckily my quilter, Susan Dirkes, was game to try quilting with both sides pieced.
There weren’t enough squares of each color to make the same design as the front so I decided to just improvise and just make the design random squares.

11 – The Quilting and some Thrift store batting ideas
By the time I finished piecing both sides I had already decided to sell the quilt to raise a donation for Good Cheer. So I didn’t hesitate to call up a local Whidbey Island quilter named Susan Dirkes. She is also a big fan of Good Cheer and decided to give me a discount on the quilting price. Some people like to quilt their own quilts instead of hiring a quilter and I’m usually one of those people. But once the quilts get to be bigger than a certain size I usually partner with a professional quilter. Susan did a wonderful job on this quilt.
Susan supplied the batting for the quilt but if you are trying to save money (or the landfill), try one of these thrifty options for quilt batting:
• one or more used flannel sheets
• an old blanket
• discarded cotton or linen tablecloth

Once I got the quilt home to my studio I trimmed off the edges and prepared the binding.
12 – Binding the edges
The final step is to bind the edges. The binding fabric is the only fabric in this quilt that I didn’t get from Good Cheer. I already had it in my fabric stash — a gift from a local quilter. I machine stitched it to one side of the quilt edge and then hand-stitched it to the other side. I could have machine-stitched the second side but it has a more professional look when hand-stitched—which I prefer.

The quilt is all finished! I’ll be showing it at my upcoming Studio Tour next weekend. Now to sell it and donate the money to Good Cheer…


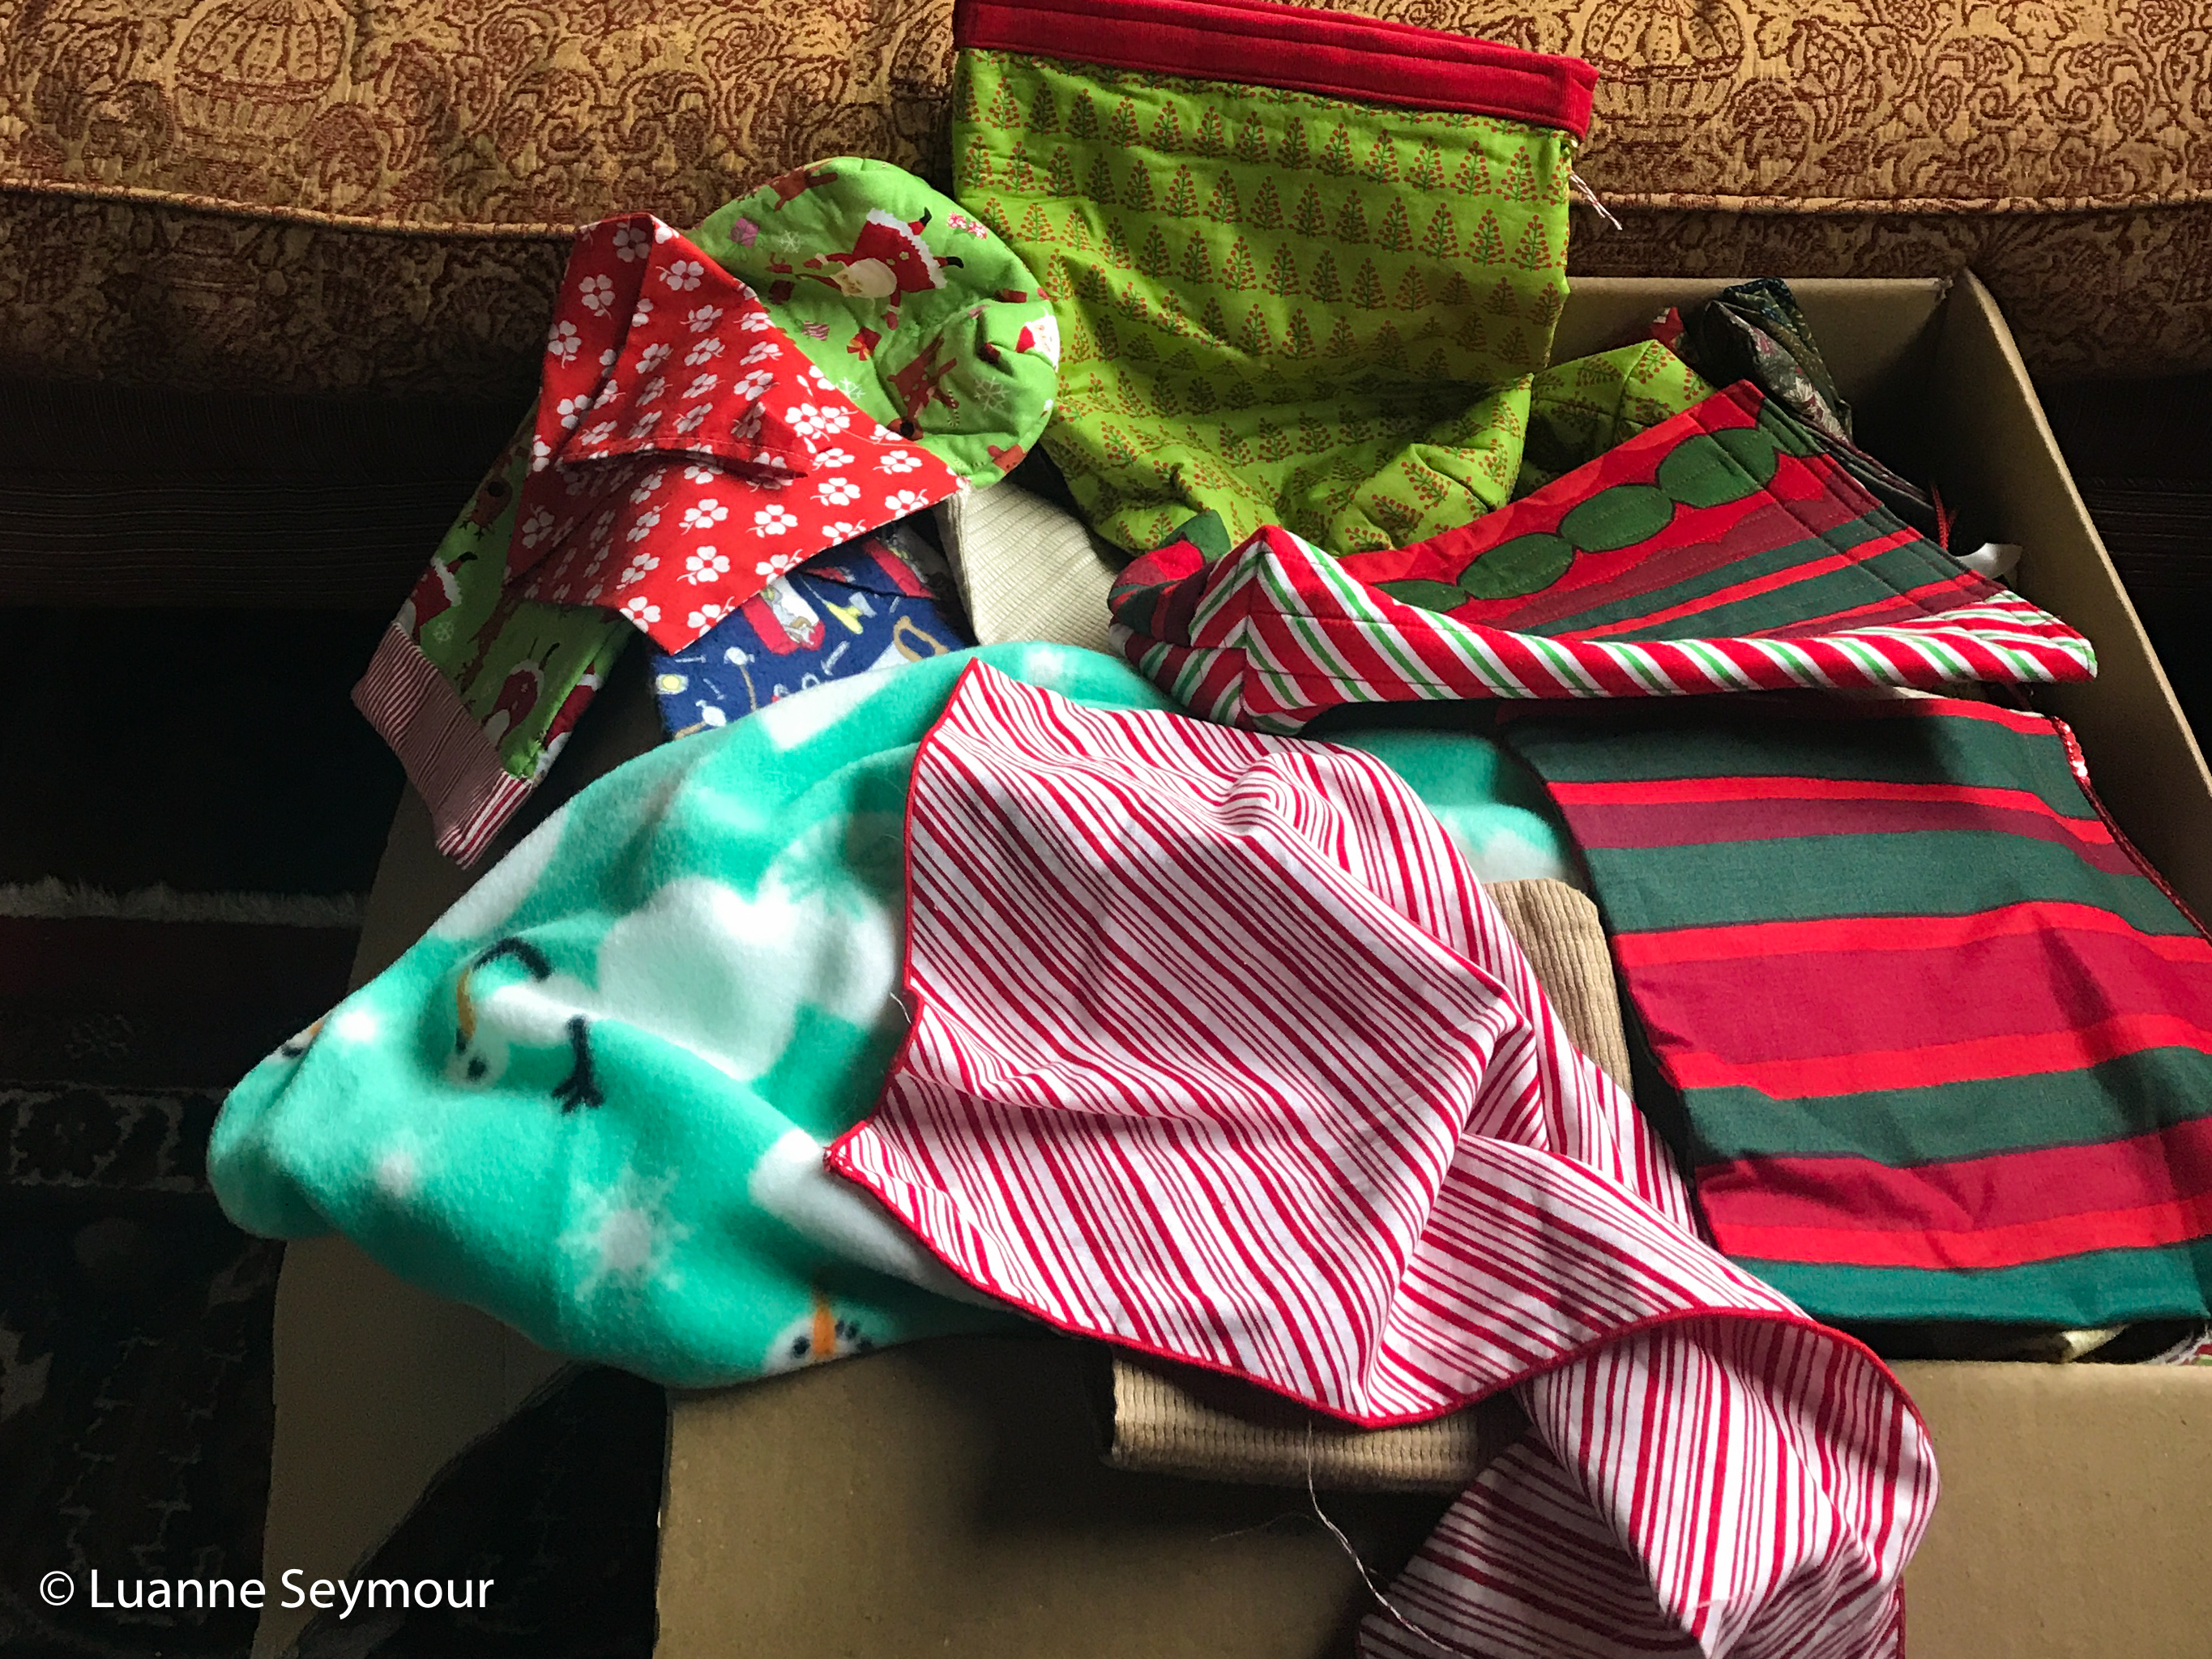


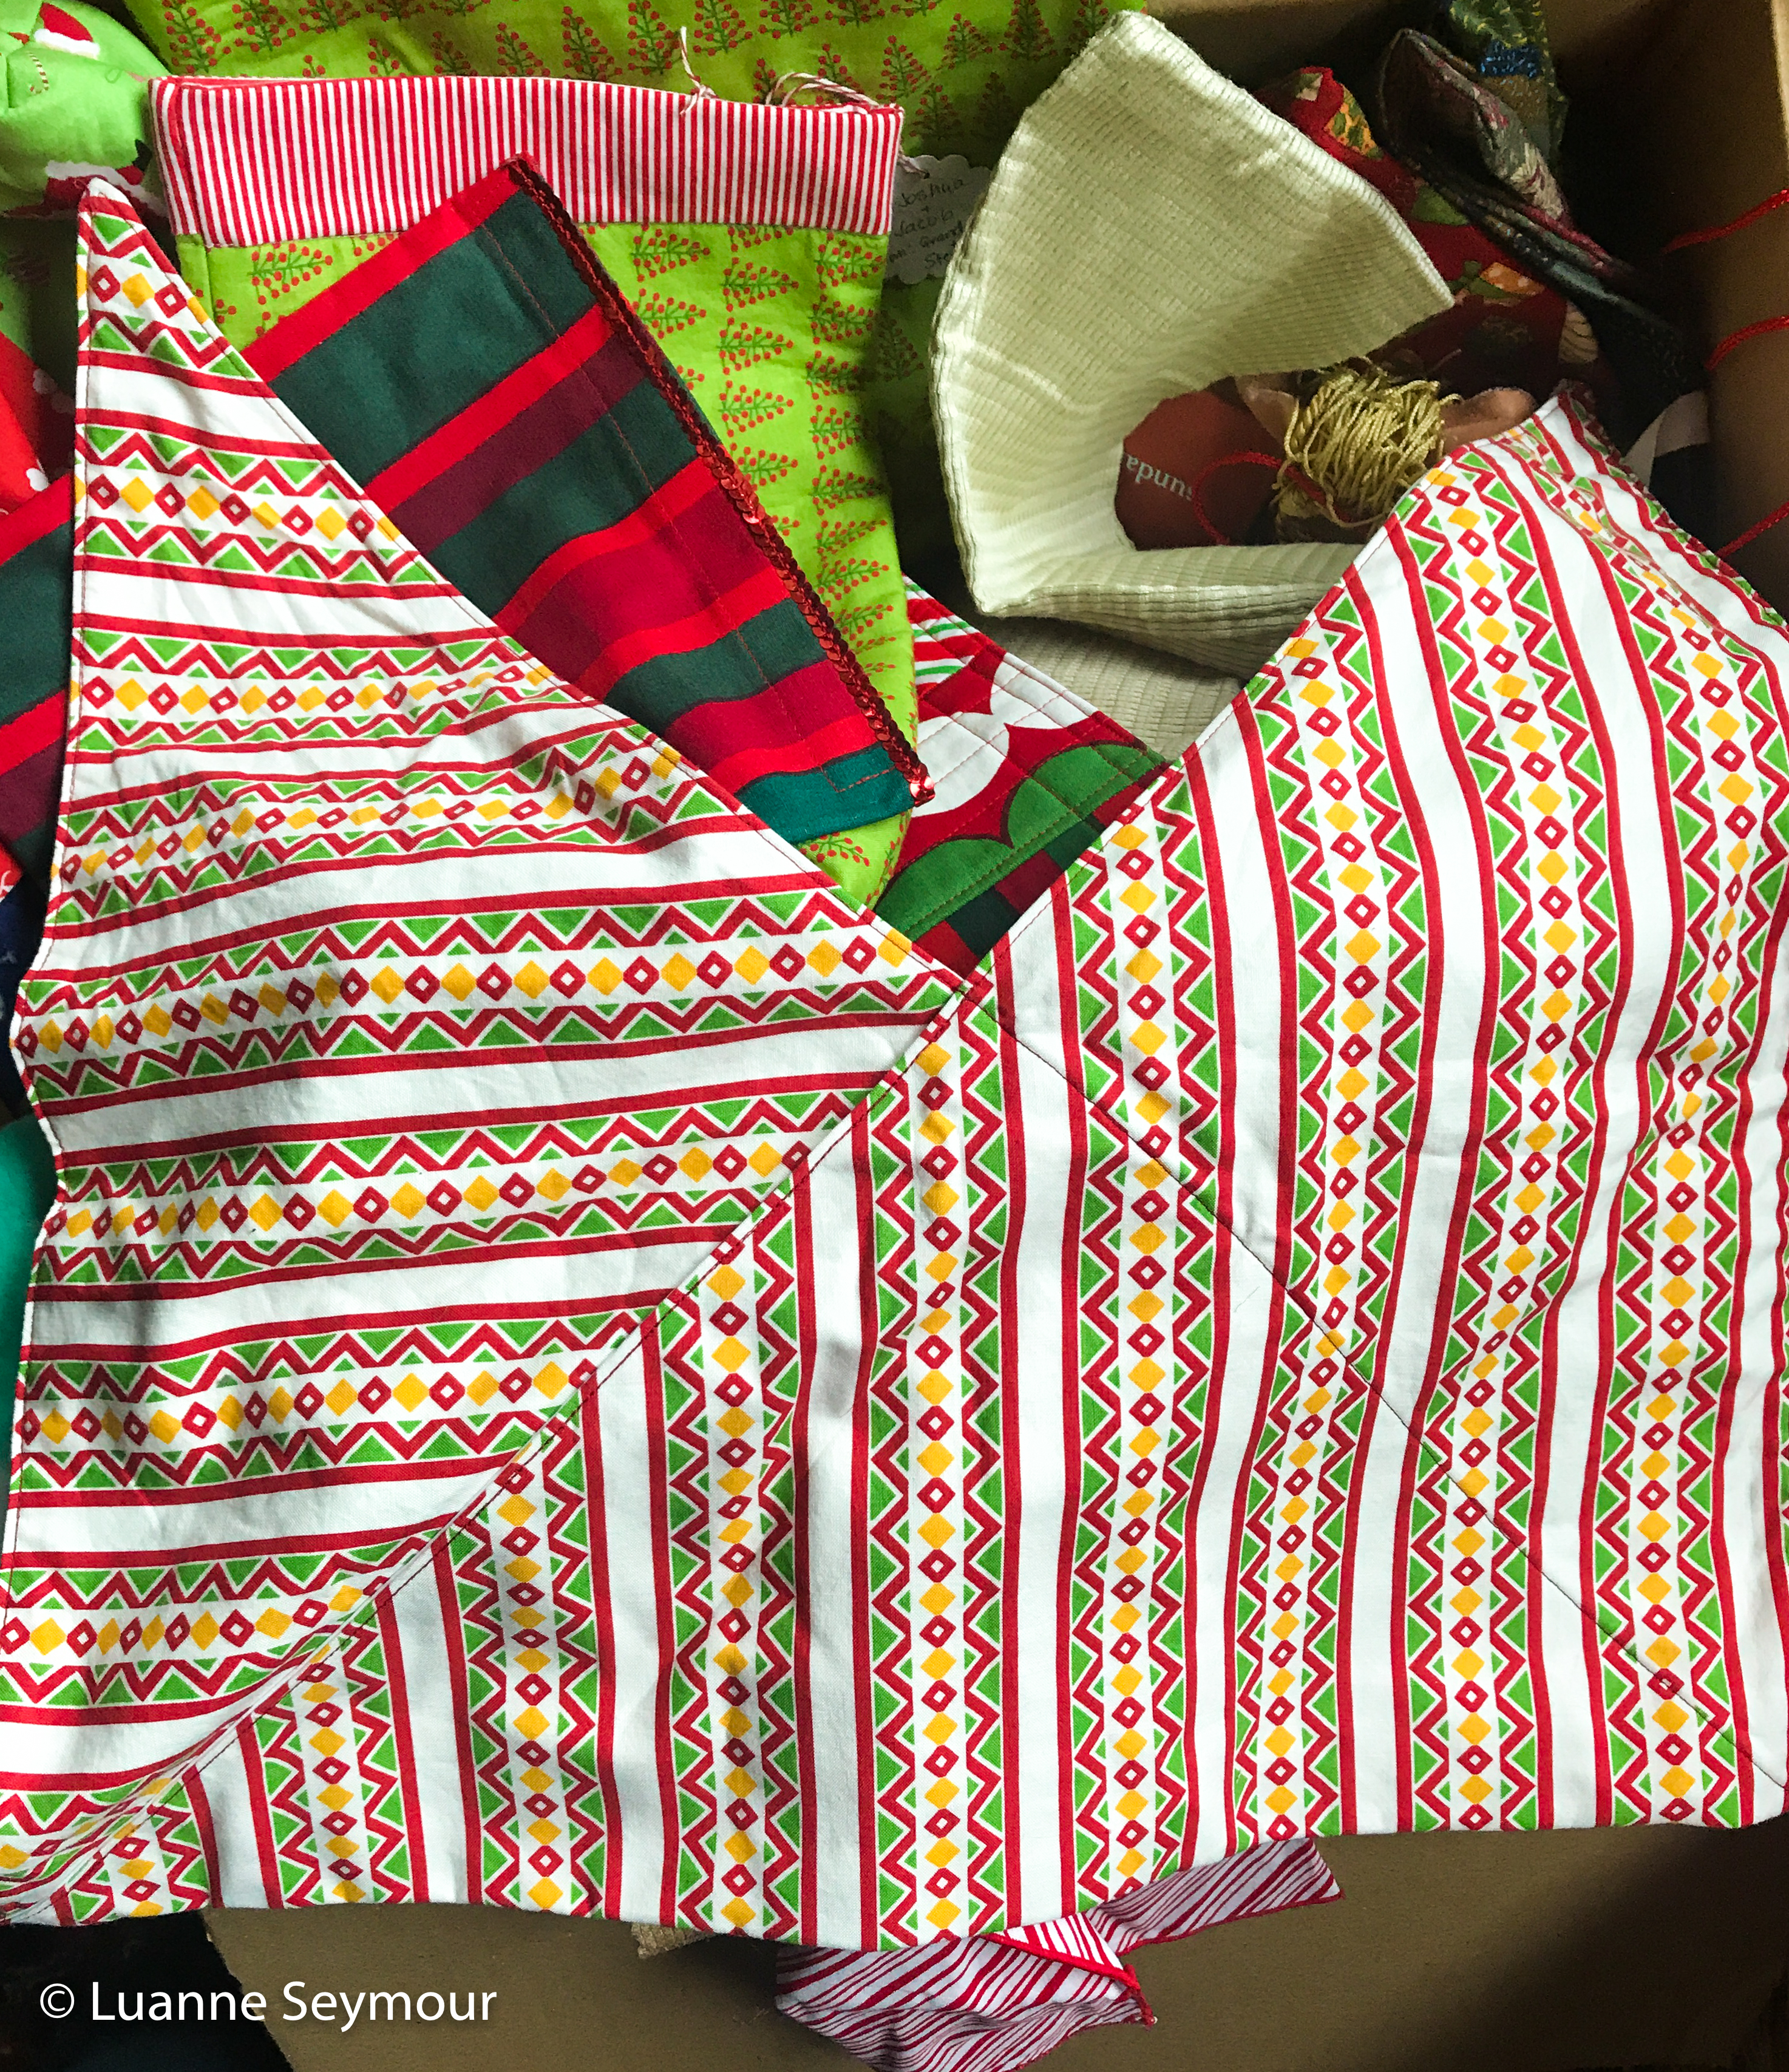


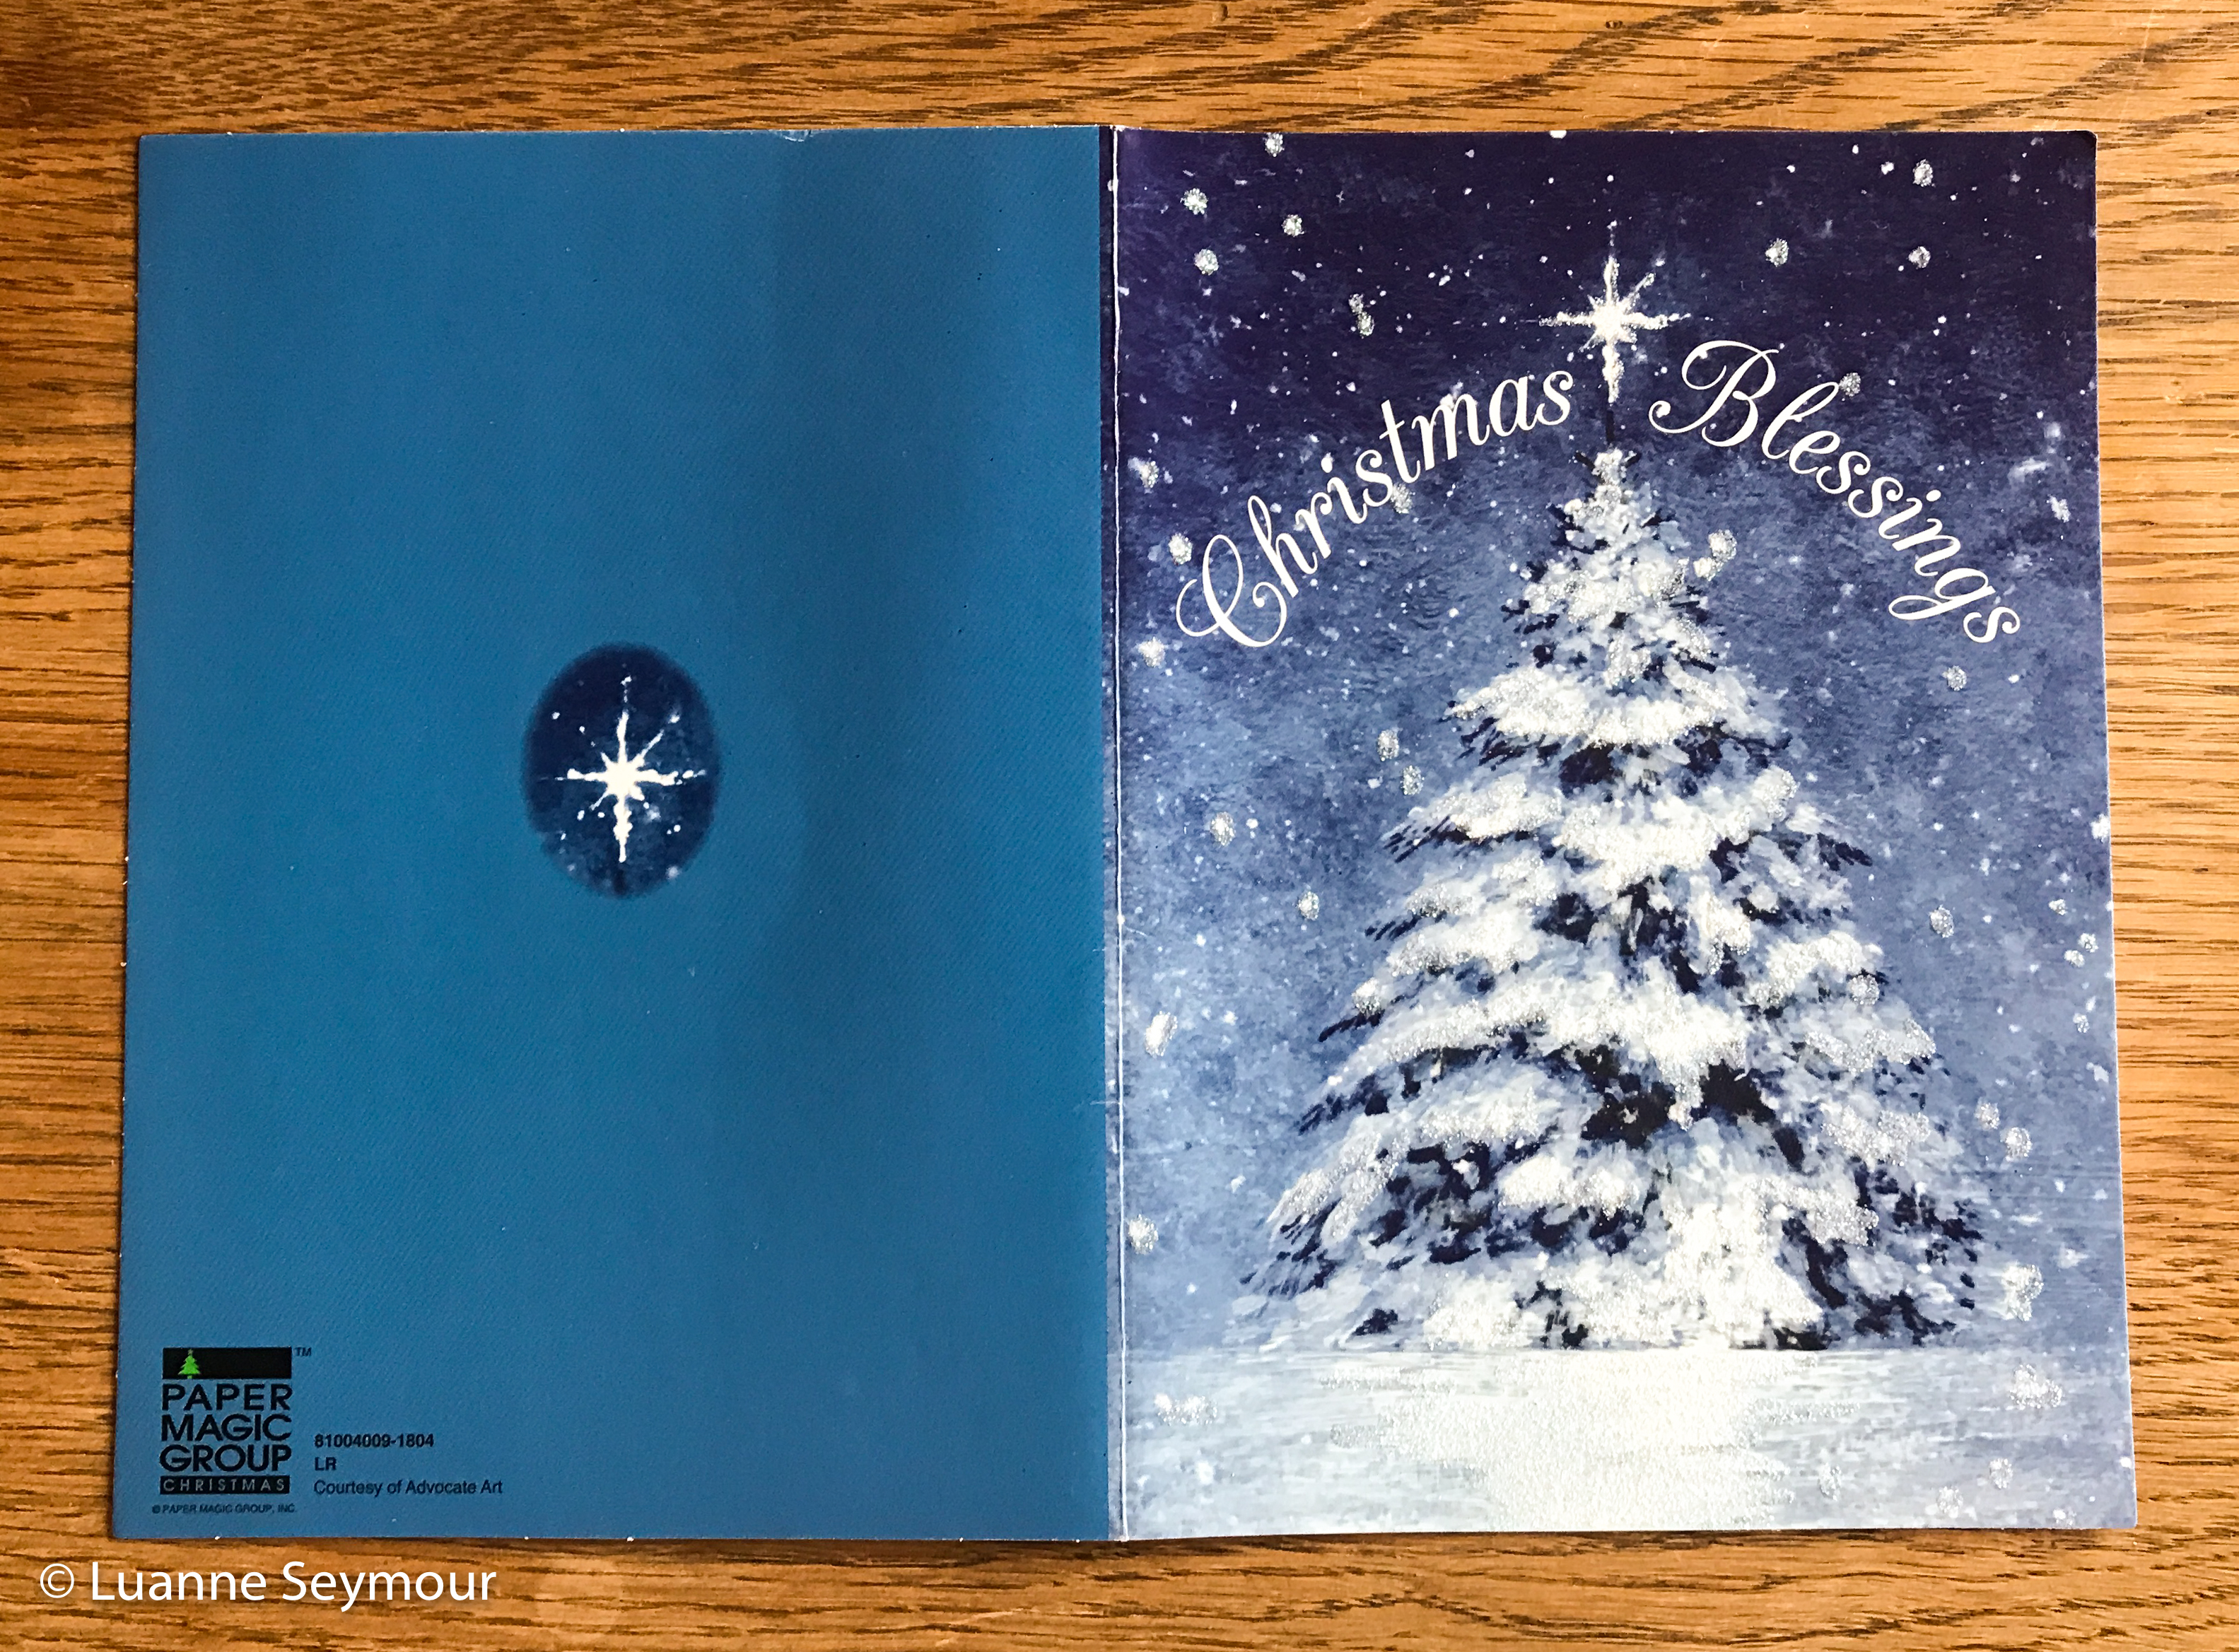

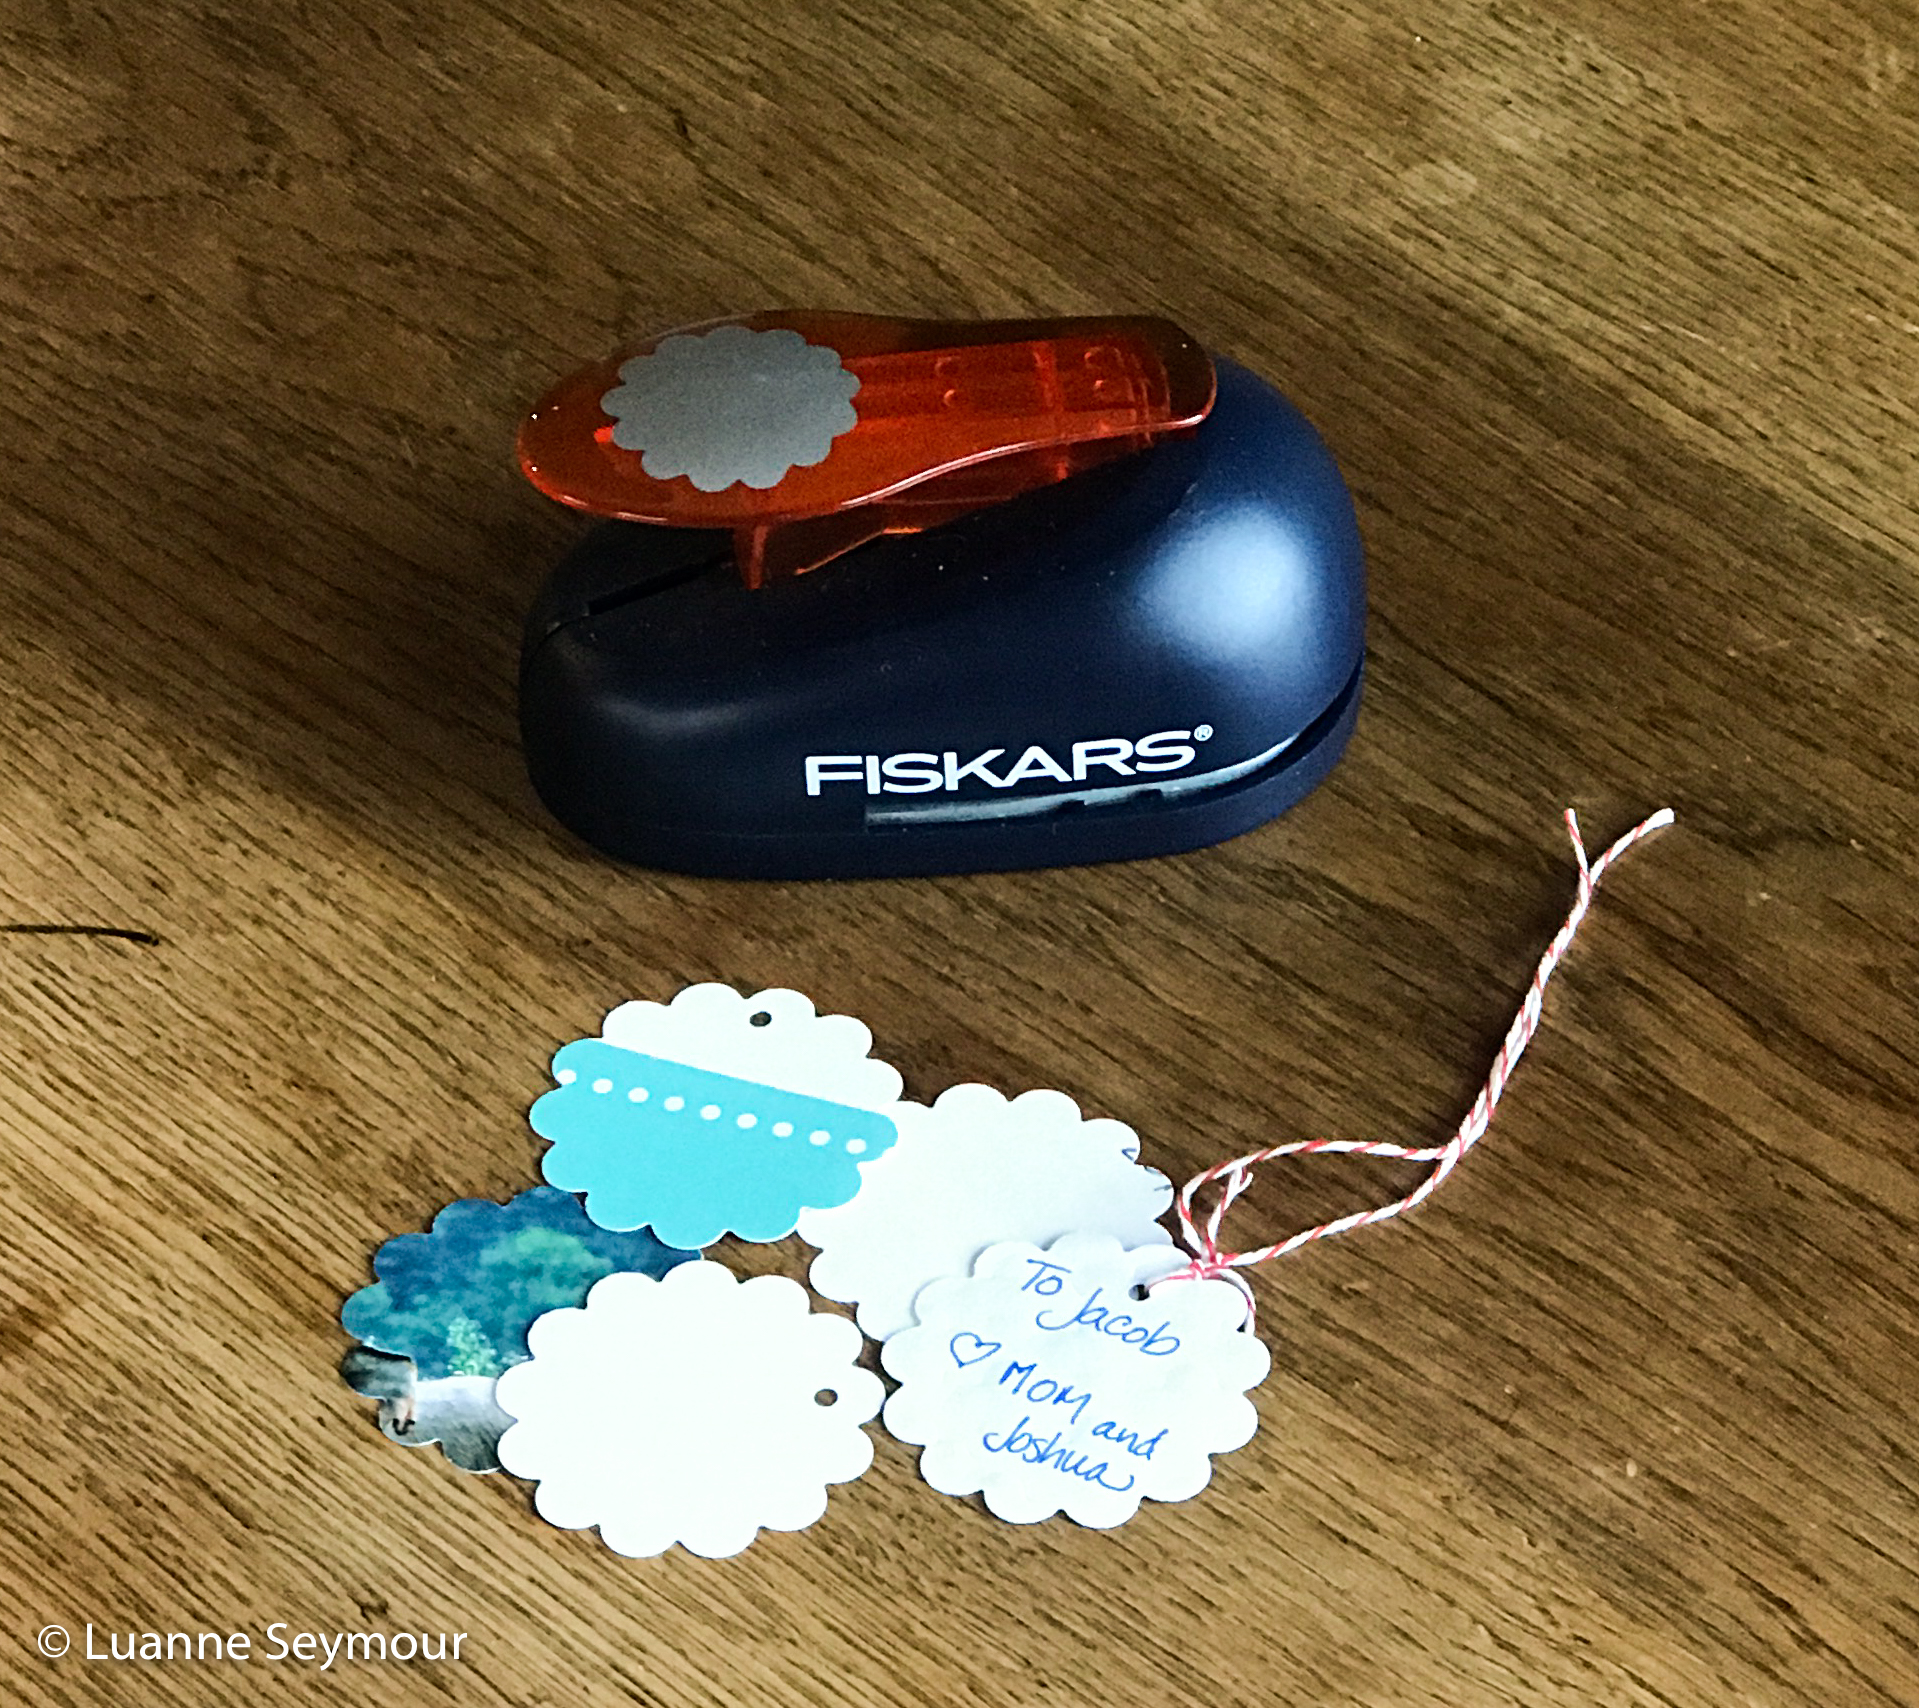 I bought this paper punch when it was on sale at Joann’s several years ago. But you can make interesting tags by just cutting out shapes from cards that you were going to toss in recycling anyway. Then punch or poke a small hole to thread the string or safety pin though and attach it to the gift bag.